
Review · MOAB
Moab: The Windows Astro-Photography and Stargazing Hike
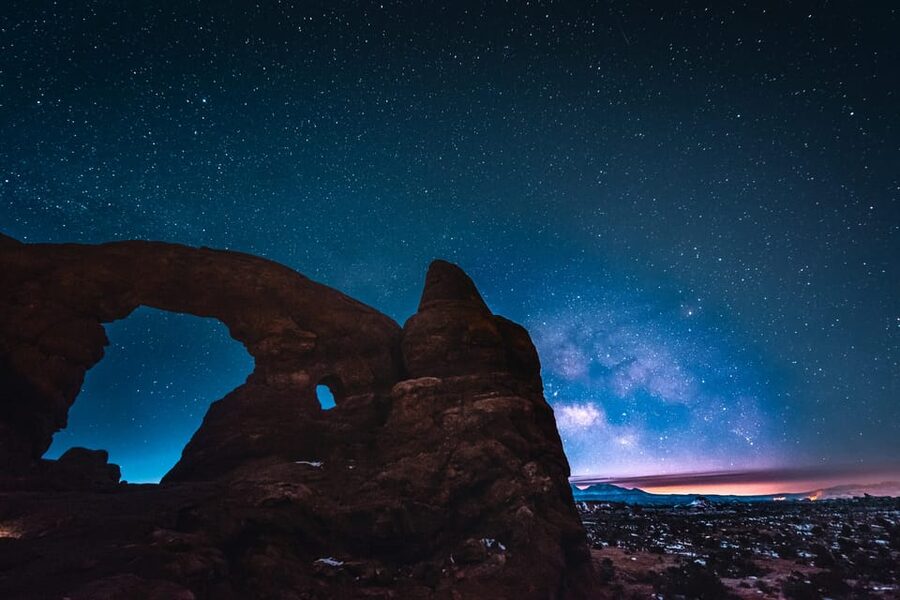
The desert looks different after dark. This two-hour hike through Arches National Park combines stargazing, night photography, and a close look at the North Window, South Window, Turret Arch, and Double Arch. I especially like the small group of no more than six people, which gives your guide time to help with individual cameras. I also like that tripods and red LED headlamps are included.
The main thing to consider is the price: $175 per person, before the Arches National Park entry fee and any camera rental. You also need to hike roughly two miles in the dark, so this is not a casual parking-lot stargazing session. It suits people who want to learn and practice, not simply point at the stars for a few minutes.
Guides such as Sam and Brandon have earned high praise for patient camera coaching, safe route-finding, and helping people use phones as well as DSLRs. Full moon nights can be beautiful, while darker lunar phases offer stronger Milky Way views. The sky conditions shape the evening, so choose your date with care.
Key things to know before you go
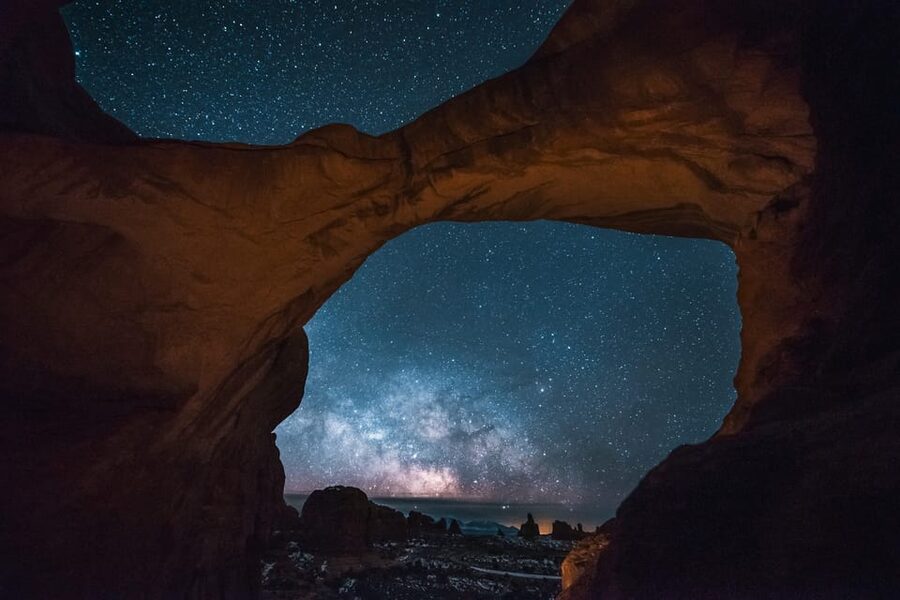
- You visit Arches after dark: The route begins at The Windows parking area and includes North Window, South Window, Turret Arch, and Double Arch.
- You learn practical night photography: Your guide explains camera settings and helps you work with a phone, personal camera, or rented DSLR.
- You hike about two miles: Red LED headlamps help you see the trail while preserving night vision better than bright white lights.
- You get useful gear: Tripods are available, and DSLR cameras or lenses can be rented for an additional fee.
- You may see more than stars: The Milky Way, planets, constellations, and even the northern lights have appeared during past outings, though none is guaranteed.
- You pay separately for park entry: The standard vehicle fee for Arches is listed as $30, and transportation to the meeting point is not included.
Why The Windows is a strong night-hike setting
The Windows area gives this tour a useful mix of scenery. You are not standing in one field waiting for the sky to do all the work. Instead, you move through a compact collection of giant arches and rock formations, stopping to photograph them under changing light.
The North Window and South Window are among the main sights along the route. At night, their openings frame the sky in a way that feels very different from a daytime visit. The rock becomes a dark foreground, while stars show through the arch above. Your guide can help you place the arch in the frame, manage the exposure, and decide when to include more sky.
Turret Arch adds another distinctive subject. Its shape gives you a chance to make photographs with a clear rock outline against the stars. You also get time to think about how wind, water, and other forces formed these arches over long periods. That geological setting gives the photography some meaning beyond simply collecting star pictures.
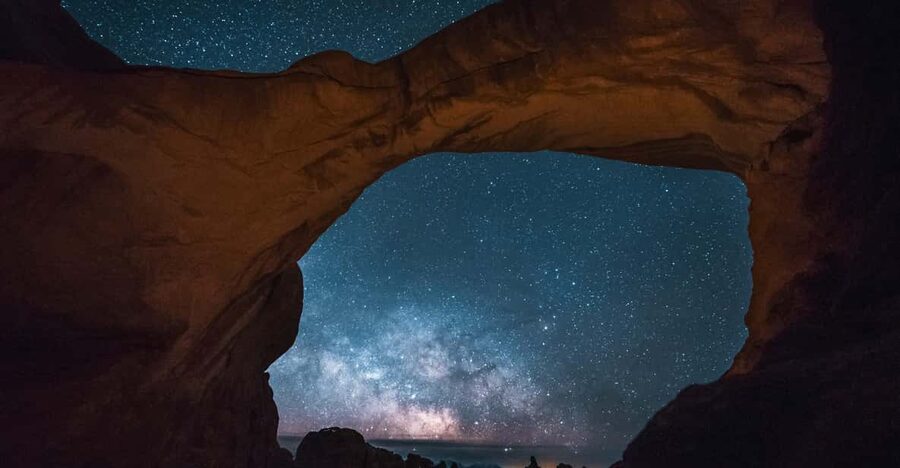
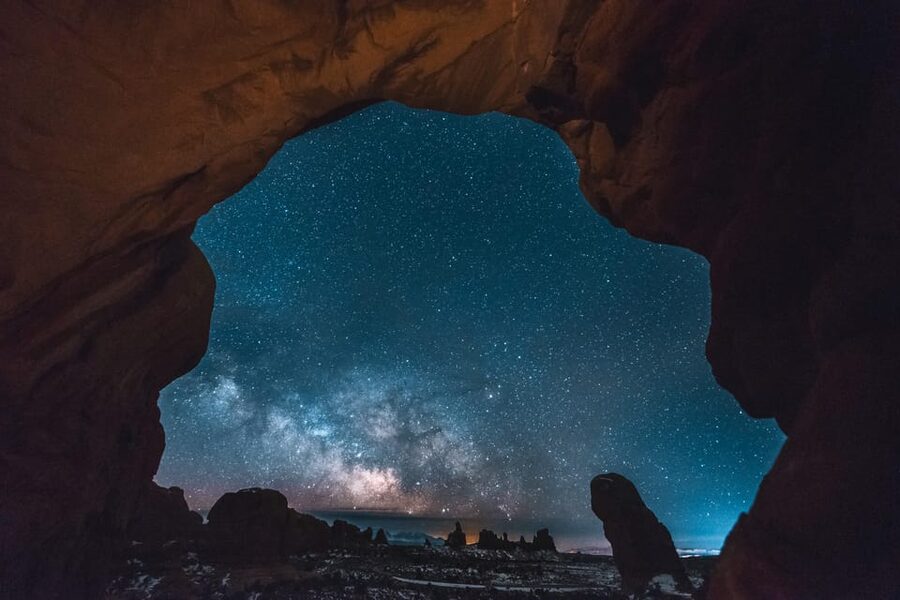
Double Arch is the final major highlight. It is also where the night-sky photographs can become especially dramatic, with the galaxy or stars above the large stone opening. The route does not rush you from one formation to the next. You have time to practice, adjust your settings, and try again before returning to the parking lot.
More Astrophotography Tours in the USA:
- Night Sky Private Photo Tour
★ 5.0 · 8 reviews - Milky Way Photography Workshop in Acadia National Park
★ 5.0 · 8 reviews - Milky Way Photography in Arches National Park
★ 4.0 · 4 reviews
What happens at the Windows trailhead
You meet your guide after dark in the first parking lot on the right at The Windows parking area. There is no transportation from Moab included, so you need to arrange your own way to the trailhead and pay the park entry fee separately.
At the start, your guide helps you get ready with a red LED headlamp. Red light is useful at night because it lets you see the route without flooding the area with harsh white light. You receive a tripod if you need one, which matters because astrophotography usually requires a steady camera during a longer exposure.
You should arrive with your camera, hiking shoes, water, and a charged smartphone. The phone is not just a backup light or communication tool. Guides Sam and Brandon have helped participants use phone camera features to capture night images, so a smartphone can still be worthwhile if you do not own a dedicated camera.
The group size is capped at six. That limit is important here. Night photography can involve small adjustments to focus, exposure, shutter speed, and framing. In a large group, you might get only a quick explanation. With six or fewer people, your guide has a better chance of checking your setup and helping you correct mistakes.
Learning the basics of astrophotography
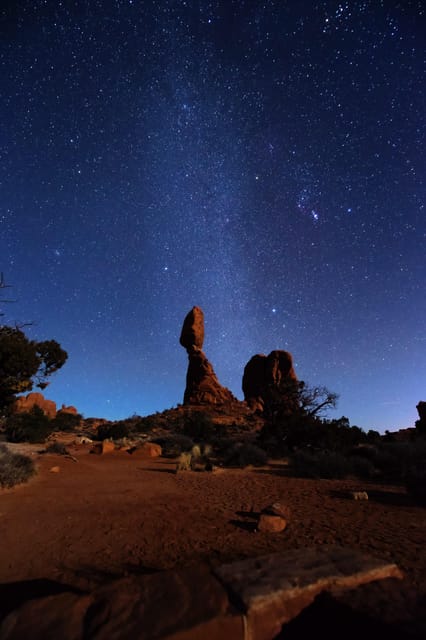
This tour is aimed at beginners as much as experienced photographers. You learn the fundamentals of operating your camera at night, including how to use a tripod and how to set up for star photographs.
The guide’s role is more useful than a general lecture. You can try a setting, check the result, and make changes while you are still in the park. That immediate practice helps you understand why a photo is too dark, too bright, blurry, or missing the stars you can see with your eyes.
You may also be shown how to focus in low light and how to keep the camera still during an exposure. The supplied information does not promise a specific camera class or exact settings, so the instruction can vary with the guide and the equipment you bring. Still, the repeated praise for Sam and Brandon centers on patient, practical help rather than a rushed script.
Sam has been singled out for teaching night photography in a friendly and accommodating way. Brandon has also received praise for helping people with both cameras and iPhones. That flexibility is a real advantage if your group has mixed equipment.
A key point: the camera may record light you cannot see with your eyes. This means your finished photograph can show more stars or color than the scene appears to contain at the moment. Do not judge the result only by looking at the trail or arch in front of you. A brief screen check may reveal details that were invisible in person.
Using your own phone, camera, or rented DSLR
You can bring your own camera, and you should bring a smartphone even if you plan to use a DSLR. The guides have helped people get strong results from phones, especially when the phone has a night mode or manual controls.
A phone will not offer the same control as a DSLR, but it can be easier to use and easier to carry during a two-mile walk. It also gives you a quick way to record the arches and the sky without spending time changing lenses or checking a complicated menu.
If you want more control, you can request a DSLR camera, a DSLR lens, or both for an additional fee before the tour begins. Lens rentals are available for Canon EF and EFS mounts and Nikon F mounts. You need to arrange this before starting, not simply decide halfway through the hike.
A rented DSLR can make sense if you are visiting Moab without your usual photography equipment. It can also help you avoid buying a camera just for one trip. But add the rental price to the $175 tour cost when judging the total value.
The supplied details do not list the rental rates or exact camera models. Ask the activity provider about current availability and cost before booking. If you already own suitable equipment, the included guide, headlamp, and tripod access may be enough.
More Hiking Trips in the USA:
- Griffith Observatory Hike: Guided Tour through Griffith Park
★ 5.0 · 1,020 reviews - Los Angeles: Griffith Observatory Guided Hike/Walking Tour
★ 4.9 · 199 reviews - Hollywood Sign Hiking Tour to Griffith Observatory
★ 4.9 · 106 reviews - Hollywood Sign Hiking Tour to Griffith Observatory
★ 5.0 · 99 reviews
Walking among the arches after sunset
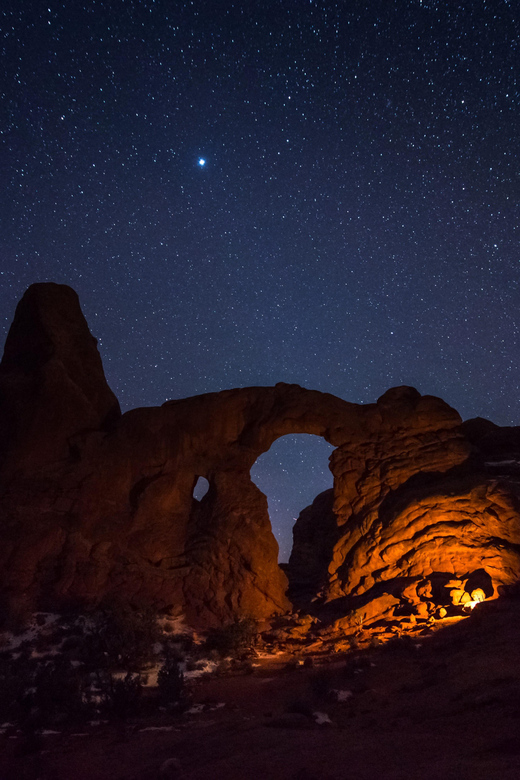
The hike covers roughly two miles from the Windows trailhead. In daylight, this area is a popular sight, but darkness changes the pace. You need to watch the ground, follow your guide, and stay aware of drop-offs and uneven rock.
Safety is one of the strongest practical reasons to take a guided outing rather than wander alone at night. Brandon was praised for pointing out drop-off points, especially when the group came close to them. Your guide also knows where to stop for photographs and how to move through the area without turning the evening into a scramble.
This is not suitable for wheelchair users, people with mobility impairments, or children under six. Hiking shoes are listed as essential, and water is important even during a cooler evening. You should be comfortable walking outdoors after dark and carrying your own camera equipment.
Pets are not allowed. The small group format also means you should expect to keep moving with the group rather than setting your own independent route.
Choosing the moon and the kind of sky you want
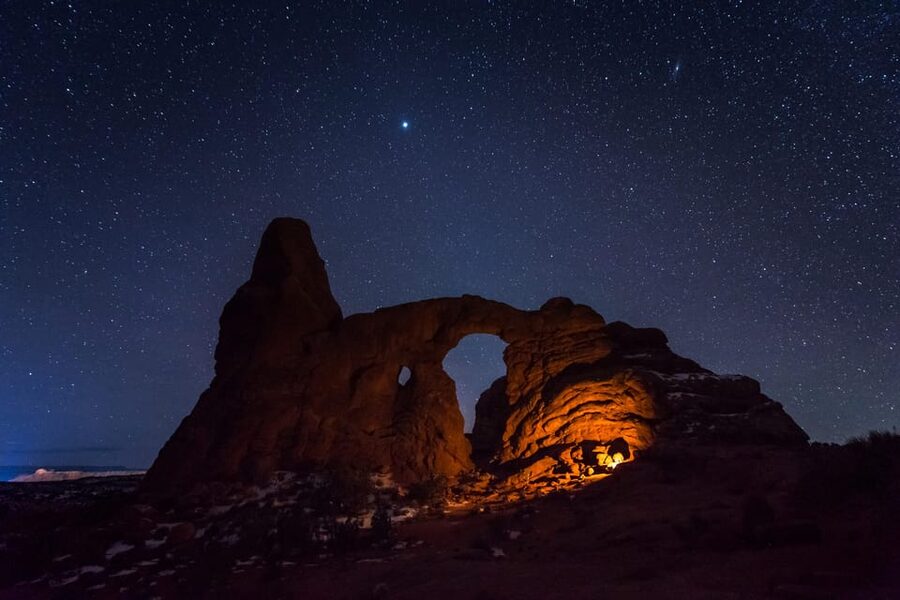
A dark moon can help you see the Milky Way more clearly. If your main goal is a strong view of the galaxy and maximum stars, ask the activity provider about dates with a darker sky.
A full moon creates a different kind of evening. It can light the arches and the trail, making the formations easier to see and photograph. One participant described a full moon as especially beautiful, and that makes sense: moonlight can give the rock a clear shape that would be difficult to capture under a completely dark sky.
The best choice depends on your goal. Darker nights favor star density and the Milky Way. Brighter moonlight can make the hike feel less intimidating and can add detail to the arches. The provider encourages photography at any point in the lunar cycle because each phase changes the look of the park.
If you want a very dark sky, contact the provider before booking. They can help decide if the conditions and timing fit what you want. You should also remember that clouds and other weather conditions can affect the result, and no tour can guarantee a particular celestial sight.
The northern lights were visible during one November outing, but that was a lucky event, not a promised feature. You may see stars, constellations, or planets, but spectacular extras remain unpredictable.
The value of $175 per person
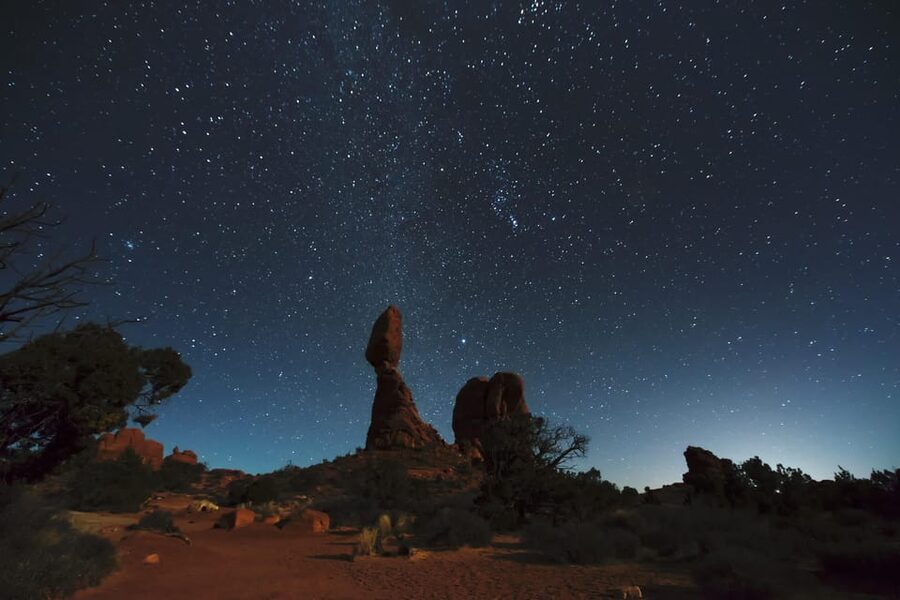
At $175 per person, this is a premium short tour. The two-hour length may look brief beside the price, but the cost includes a private-feeling small group, a live English-speaking guide, red LED headlamps, and tripod access. You are also paying for instruction and safe navigation in a national park after dark.
The value is strongest if you want to leave with better photographs and a clearer understanding of night-camera settings. A guide can save you from spending the entire evening guessing at exposure settings or struggling to focus in darkness.
The value is weaker if you only want to look at stars. You could enter Arches on your own with the required park pass and spend time at a dark viewpoint, though you would not receive the same photography help or guided route.
Camera rental can change the calculation. If you need a DSLR and lens, the extra fee may make this a costly evening. If you already have a camera or plan to use your phone, the base price is easier to assess.
The ability to cancel up to 24 hours ahead for a full refund and reserve now while paying later adds some planning flexibility. Still, the real decision is not the cancellation policy. It is whether learning photography in a small group is worth more to you than an independent night visit.
Who will get the most from this experience
I would recommend this outing to first-time astrophotographers, casual photographers who want better night images, and people who prefer a guide when walking among rock formations after dark. It also works well for a mixed group in which one person owns a camera and another uses a phone.
You do not need a high-end camera to take part. The guides have helped participants use iPhones, and the included tripods can support a range of equipment. A charged smartphone gives you a practical fallback.
Experienced photographers may still enjoy the location and the chance to photograph Double Arch at night. However, you may find the basic instruction less useful if you already know manual focus, long exposures, and night composition well.
This is not the right pick for a quick family activity, a fully accessible outing, or a relaxed sightseeing stop with no hiking. Children under six cannot join, and people with mobility impairments or wheelchair users should choose another way to see Arches.
Practical advice for a better evening
Wear hiking shoes with a secure sole. The trail includes uneven ground, and darkness makes small obstacles harder to spot.
Bring water even though the tour lasts only two hours. Carry a charged smartphone, your camera, and any needed batteries or accessories. The listed equipment includes headlamps and tripods, but it does not include transportation, park admission, or DSLR rentals.
Keep your camera settings simple at first. Let the guide help you get one sharp, usable photograph before experimenting with more ambitious compositions. The large arches give you plenty of subjects, so you do not need to rush.
Look at your screen, but do not spend the entire night staring down at it. The park after dark is the main event. The best balance is to make a few deliberate images, then look up and enjoy the sky directly.
Should you book the Windows night hike?
Book it if you want more than a starry view. The strongest parts are the six-person limit, the patient instruction from guides such as Sam and Brandon, the included tripod and red headlamp, and the chance to photograph four major Arches sights after dark.
Skip it if $175 feels too high for a two-hour outing, if you want a completely independent visit, or if a two-mile night hike is not comfortable for you. Before booking, decide whether you want a dark Milky Way night or a moonlit arch scene, then ask about camera rental cost and timing.
For the right person, this is a smart way to turn a night in Arches into a hands-on photography lesson and a memorable walk through the Windows area.
FAQ
How long does the tour last?
The guided hike lasts two hours.
Where does the tour begin?
It begins at The Windows parking area in the first parking lot on the right.
How much does the experience cost?
The listed price is $175 per person.
Is the Arches National Park entry fee included?
No. The Arches entry pass is separate and is listed as $30 per standard vehicle.
Is transportation to The Windows included?
No. You must arrange your own transportation to the meeting point.
How far do you hike?
The activity starts at The Windows trailhead and involves roughly two miles of hiking.
What equipment is included?
The tour includes red LED headlamps and tripods if needed.
Can I rent a camera or lens?
Yes. A DSLR camera and DSLR lenses for Canon EF, Canon EFS, and Nikon F mounts are available for an additional fee. Arrange the rental before the tour begins.
Can I use a smartphone instead of a DSLR?
Yes. Guides have helped participants use their phones to photograph the night sky.
Is the tour suitable for children or wheelchair users?
It is not suitable for children under six, people with mobility impairments, or wheelchair users. Pets are also not allowed.
Just added around the USA
- Stargazing and Milky Way Portrait in Capitol Reef National Park★ 4.5 · 13 reviews
- Temecula Wine Country Stargazing Tour★ 5.0 · 2 reviews
- Astronomy and Stargazing Tour in Utah★ 5.0 · 8 reviews
- Private Stargazing – Sequoia National Park★ 4.5 · 14 reviews
- Sedona Night Hike and Stargazing★ 5.0 · 7 reviews
- Stargazing Tour with Telescopes and Video Astronomy in Sedona★ 5.0 · 40 reviews
- Sunset Sedona Sacred Places -gourmet picnic dinner and stargazing★ 5.0 · 12 reviews
- PRIVATE Sedona Jeep Tour 4X4 Stargazing Tour at Night★ 4.5 · 11 reviews
Astrophotography Tours, compared.
Private astronomy tour with sunset toast, picnic, and astrophotography
Read our review →
AuthenticAs Star Gazing -Nightscape Portrait Photography Tour
Read our review →
Doha Night Desert Safari, Stargazing, Photography، Relaxation
Read our review →
Private Stargazing Photography Tour In Kabira Bay
Read our review →Private Stargazing Photography Tour In Kabira Bay
Read our review →
Milky Way Photography Workshop in Acadia National Park
Read our review →
Browse the lists this tour appears in